Tute M01 Active Areas MI Archive
Revision as of 12:43, 9 January 2023 by ElizaCollison (talk | contribs)
Introduction
This page details the method for using Mapinfo to set an active model area.
Method
- Import the 2d_code_empty.mif template file from the tuflow\model\mi\empty folder, and save it as 2d_code_M01_002.TAB in the tuflow\model\mi folder.
- In the Layer Control add the 2d_code_M01_002 layer to the Map window and make it editable. If the 2d_zpt is turned on, turn this off in the Layer Control and ensure the DEM and/or aerial photo are visible.
- Open the layer boundary.tab in the Module_Data\Module_01\Mapinfo folder.
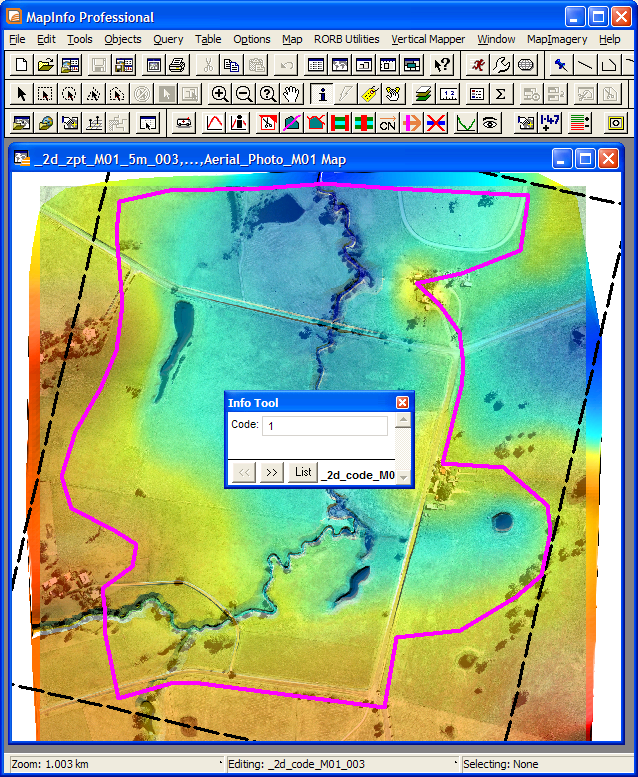
- Select the polygon in this layer, copy to the clipboard and paste into the 2d_code_M01_002 layer. The polygon should look like that shown below.
- Using the Info tool assign the Code attribute for the polygon to a value of 1 (Code 1 means set the 2D cells within the polygon to active).
- Save the 2d_code layer and export in MID/MIF format.
- Enter the following line of text into the TGC file after the Set Code == 0 command and save the TGC file.
Read GIS Code == ..\model\mi\2d_code_M01_002.MIF

Conclusion
Mapinfo has been used to create a 2d_code_M01_002 layer which sets the code value for cells inside the boundary polygon to active (code = 1). Please return to the Tutorial Model Module 1 page here.