Tute M01 Active Areas ArcTUFLOW Archive
Introduction
This page details the method for using ArcMap to set an active model area. This page uses the ArcTUFLOW toolbox. Please see Active Areas Arc (old) if not using the toolbox. For more information on the toolbox, please see ArcTUFLOW toolbox.
Method
When working with GIS layers for TUFLOW we will typically work from the template (empty) GIS files created in the previous step. These files have the correct data attributes for TUFLOW and projection for the project. In order to use a template layer, we will make a copy of the template (from the TUFLOW\model\gis\empty\ folder and move the file into the TUFLOW\model\gis\ folder. The easiest way to do this is to use the ArcTUFLOW toolbox Import Empty (template) TUFLOW files.
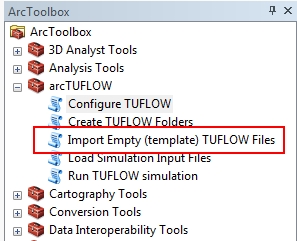
- Load the TUFLOW ArcGIS Toolbox.
- Configure TUFLOW ArcGIS Toolbox the for the project.
- Open the Import Empty (template) TUFLOW files tool from the toolbox.
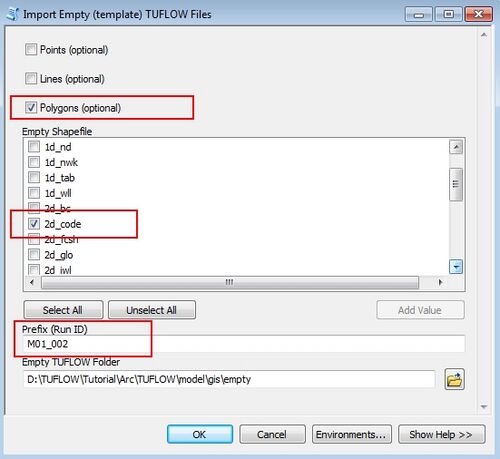
- At the dialogue, set the following:
- Tick the Polygons check box. The active area will be defined by a polygon (not points or lines).
- In the empty shapefile section, select the 2d_code layer.
- Set the prefix (Run ID) to M01_002. When the new file is created, this will be included in the filename.
- The Empty TUFLOW folder section should already be filled out. If this is not the case the TUFLOW project needs to be configured.
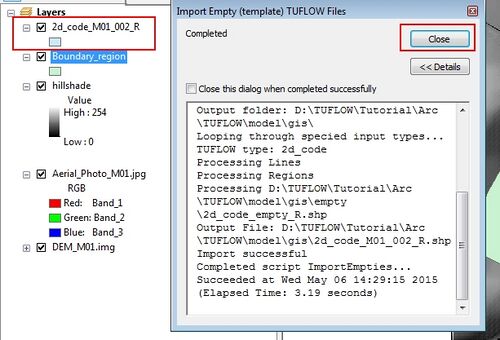
- Once the tool has been run, the new file should be created and available in the layer control.
- Open the Boundary_region.shp file from the Module_Data\Module_01\Arc\.
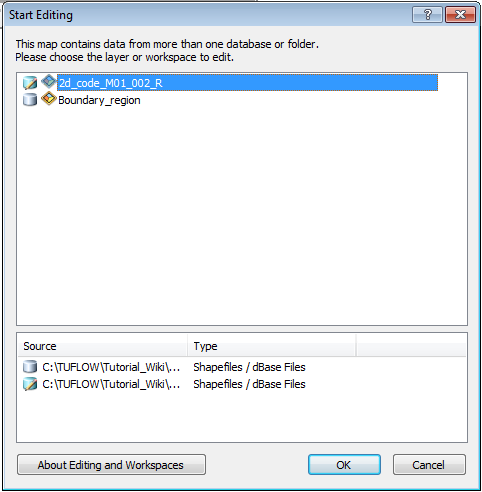
- In the Editor toolbar, select Start Editing for the Editor drop down menu
- Select the source to edit the 2d_code_M01_002_R
- Ensure the Editor Tool is selected.
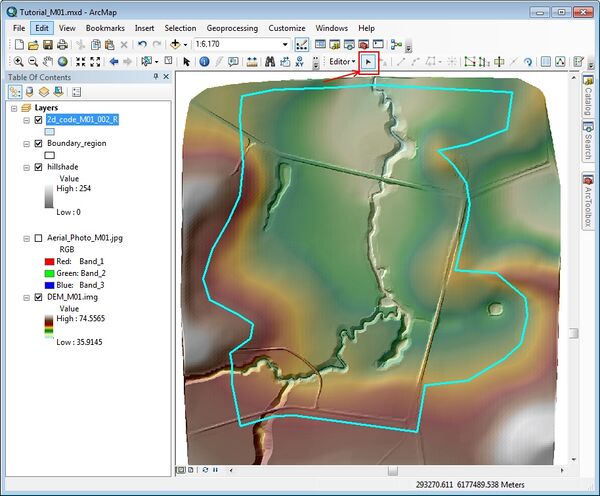
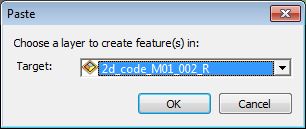
- Select the polygon in the Boundary_Region layer and copy and paste this into the editable 2d_code_M01_002_R. This can be done using the right click menus or Control + C and Control + V. When prompted, choose the 2d_code_M01_002_R as the target layer.
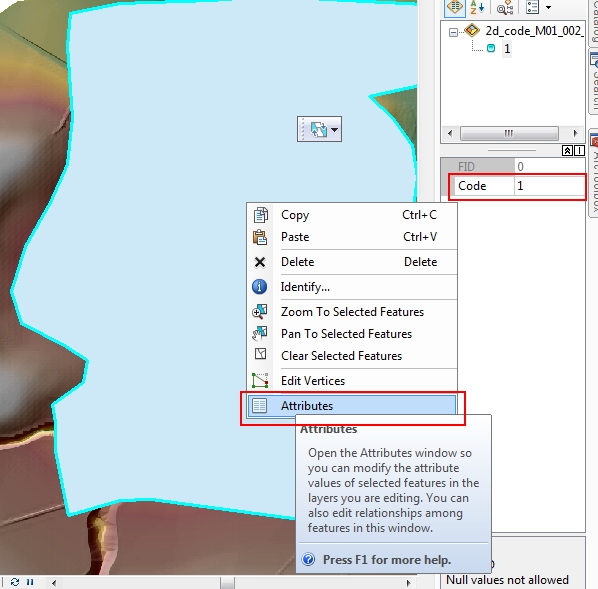
- Right click on the polygon and select attributes. Set the "Code" attribute to 1. This will set the TUFLOW model to be active within this area.
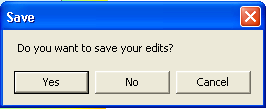
- In the Editor toolbar, select Stop Editing from the Editor drop down menu. When prompted select "Save Edits".
- Enter the following line of text into the TGC file after the Set Code == 0 command and save the TGC file.
Read GIS Code == ..\model\gis\2d_code_M01_002_R.SHP


Conclusion
ArcMap has been used to create a 2d_code layer which sets the code value for cells inside the boundary polygon to active (code = 1). Please return to the tutorial model module 1 page here.