SAGA Relief Shading
Jump to navigation
Jump to search
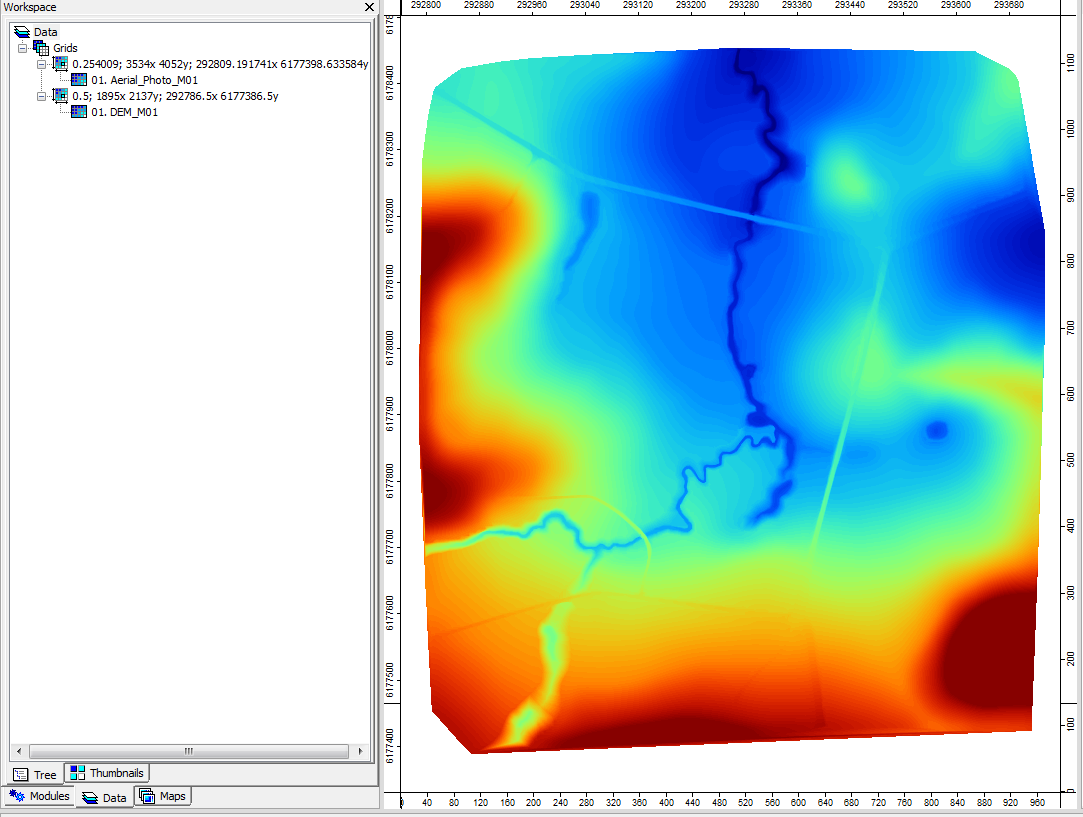
- Ensure that you have your DEM open in SAGA. Create a Map view of the DEM by double clicking on it in the 'Data tab. Without the relief shading the DEM looks like the image below.
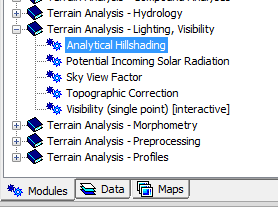
- In the Modules tab of the workspace section, expand the "Terrain Analysis - Lighting, Visibility" option and select "Analytical Hillshading".
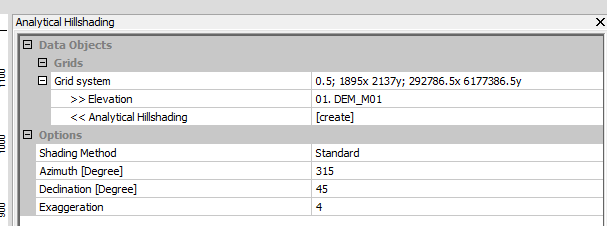
- In the options section, select the Grid System that the DEM belongs to (check this in the Data tab of the workspace). In the Elevation option select the DEM.<br< The other options can be left at the defaults, but can be changed if desired.
- Select the Execute option.
- After a few seconds (or minutes depending on the size of the grid), a tone should sound and the process is complete.
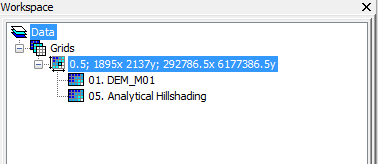
- In the Data tab, a new grid should appear called Analytical Hillshading'.
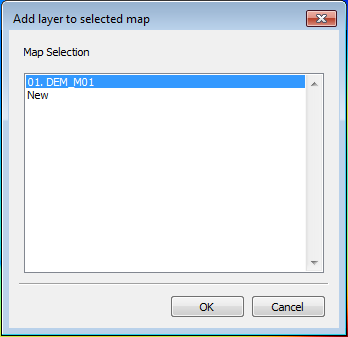
- Add this layer to the Map containing the DEM, this can be done by double clicking on the Analytical Hillshading dataset in the Data tab, and then selecting the map containing your DEM.
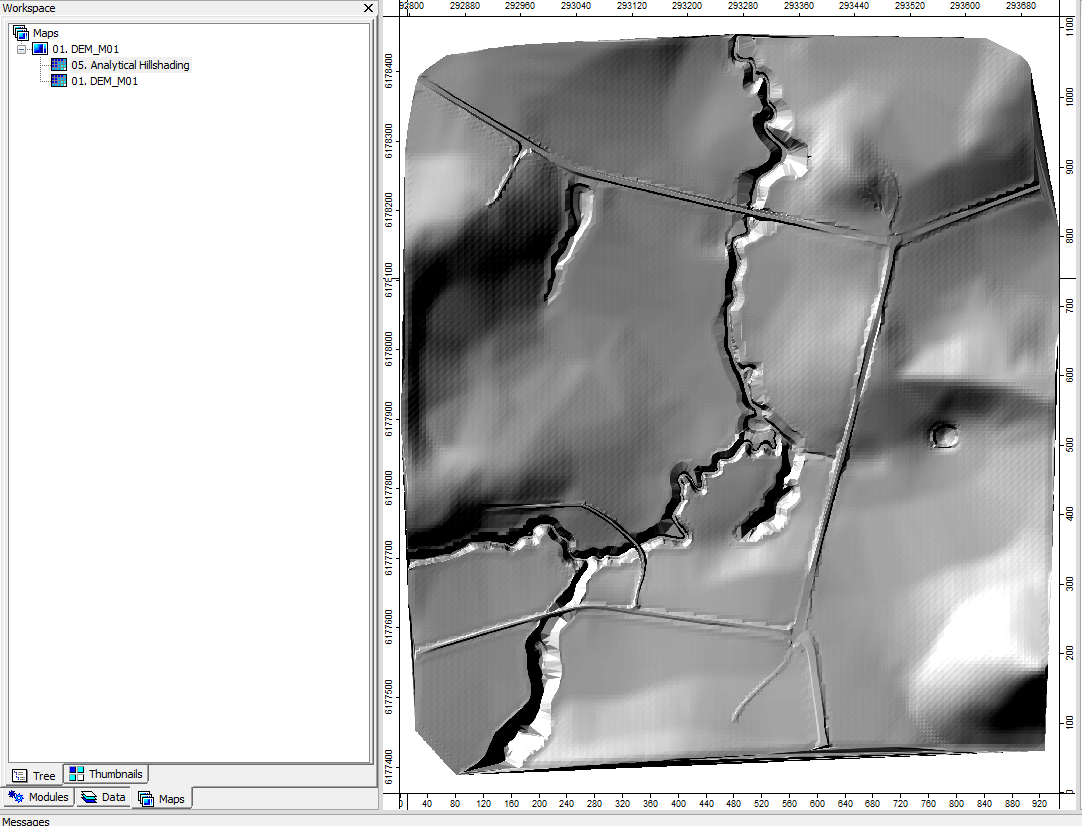
- In the Map window, the Hillshading grid should display on top of the DEM
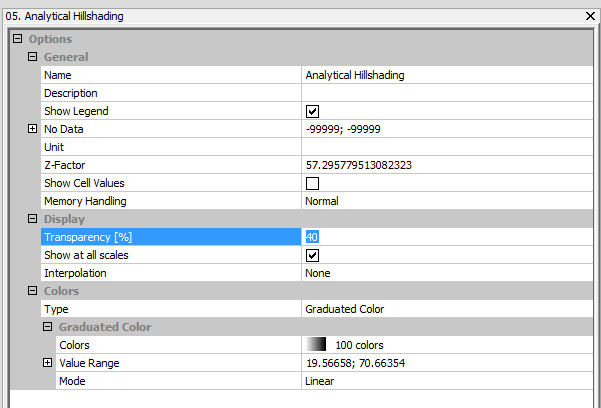
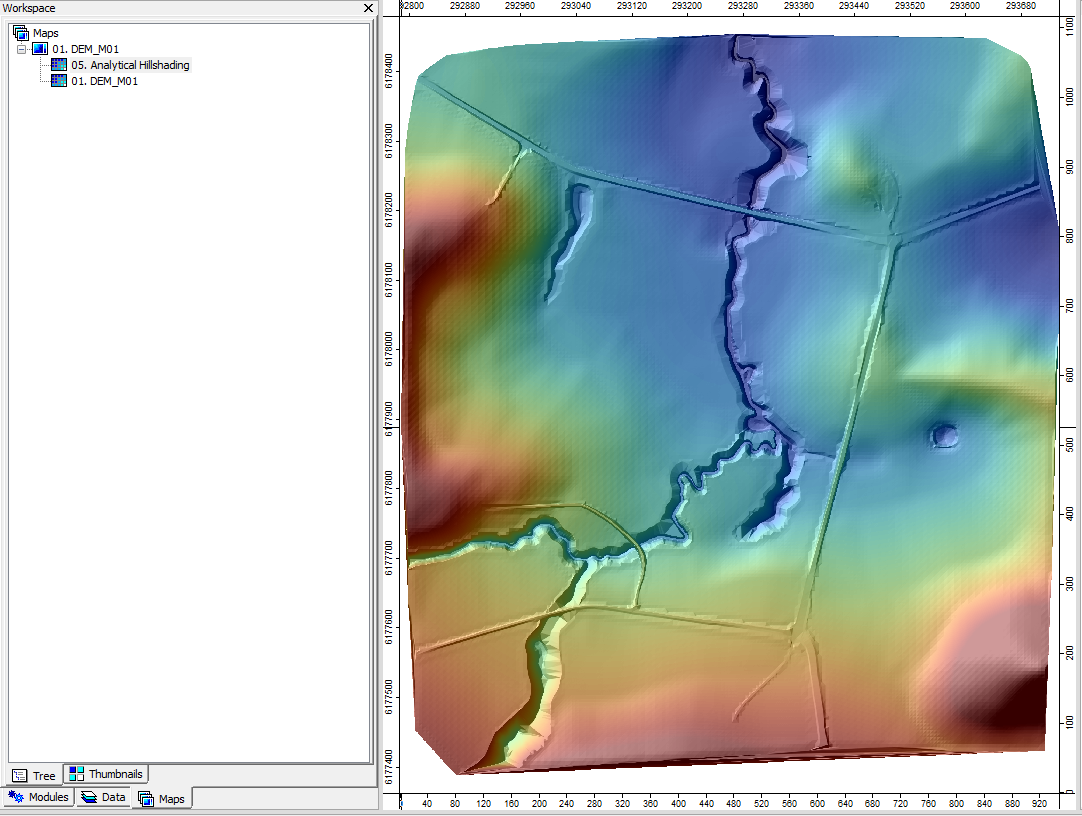
- In order to see the original DEM, select the Analytical Hillshading Grid in the Data tab, and then set a transparency in the Settings tab. Hit apply.
- The "Analytical Hillshading" grid can be saved as a separate layer for future use. To do this, select the Analytical Hillshading grid in the data tab, right-click on this grid and select Save-As. Give the grid a sensible name, for example the original DEM name and "_relief", in the example above the relief shading grid for "DEM_M01" was saved as "DEM_M01_relief".
Method
Relief shading gives a DEM a more "3D" look. To use relief shading in SAGA, follow the steps outlined below:
The DEM should now appear as a relief shaded DEM.
