Tute M01 Active Areas SAGA
Introduction
This page details the method for using SAGA to set an active model area. A preliminary model extent is provided for the tutorial model, this will be merged into a TUFLOW format file.
Method
- Load the 2d_code_empty_R.shp template file from the TUFLOW\model\gis\empty folder.
- Load the Boundary_region.shp file from the Module_Data\Module_01\SAGA\ folder. The next step is to copy the boundary region to a TUFLOW format file (2d_code_empty_R). To do this in SAGA the easiest way is to merge the tables.
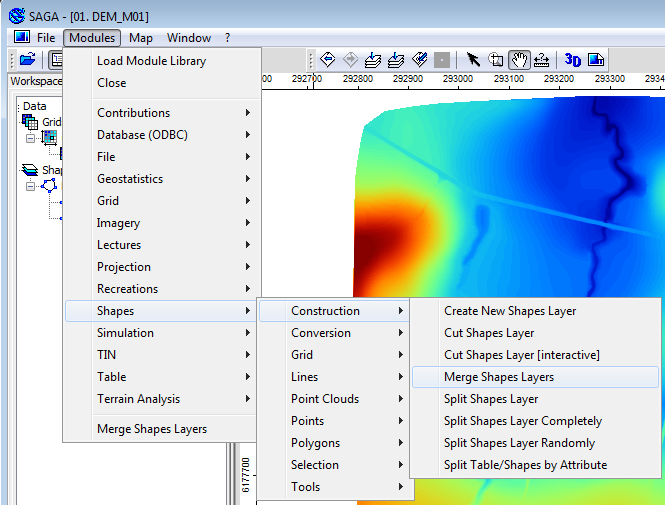
- Start the Shape Merge Module, by selecting Modules >> Shapes>> Construction >> Merge Shapes Layer.
- In the Merge Shapes Layers Dialogue set the following:
- Merged Layer = Create
- Main Layer = 2d_code_empty_R
- Additional Layers = Boundary_Region
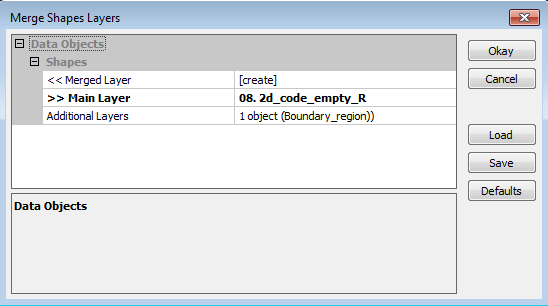
By merging the layers, the file format will be as specified in the main layer (2d_code_empty_R), but objects from the additional layers will be included.
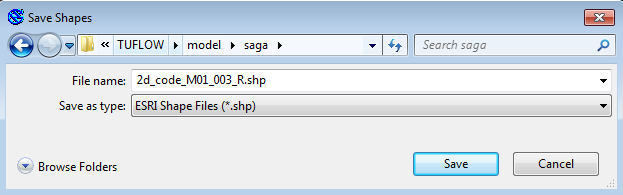
- A new shape layer called Shapes_Merge will be created. In the data tab of the workspace window, right click on the Shapes_Merge layer and select Save As.
Save the as 2d_code_M01_002_R.shp in the TUFLOW\model\gis\ folder (not in the empty directory, as the file is no longer empty!).
The file should now be ready for use in TUFLOW, however, we will review the file.
- Load the newly created 2d_code_M01_002_R.shp file.
- Load the DEM Module_Data\DEMs\SAGA\DEM_M01.sgrd.
- Create a new Map Window that contains both the DEM and the 2d_code layer. To do this, in the Data tab of the workspace window, select both of these layers, right click and select show.
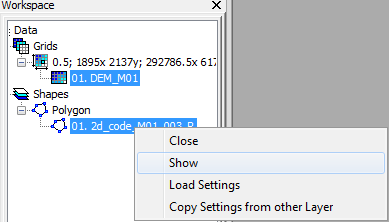
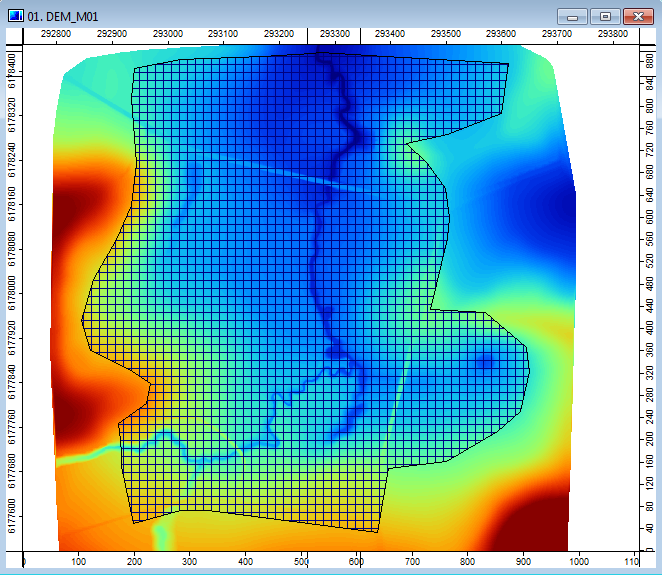
A new map should appear, looking something like the image below.
TIP: To change the style of the 2d_code layer, select this in the workspace window, and the modify the Display settings (in the Settings tab of the Object Properties Window).
- Ensure the 2d_code_M01_002_R layer is highlighted in the workspace window, select the action cursor (arrow) and then select the region in the Map Window. To see the attributes associated with the object navigate to the Attributes tab of the Object Properties Window. This is shown in the image below.
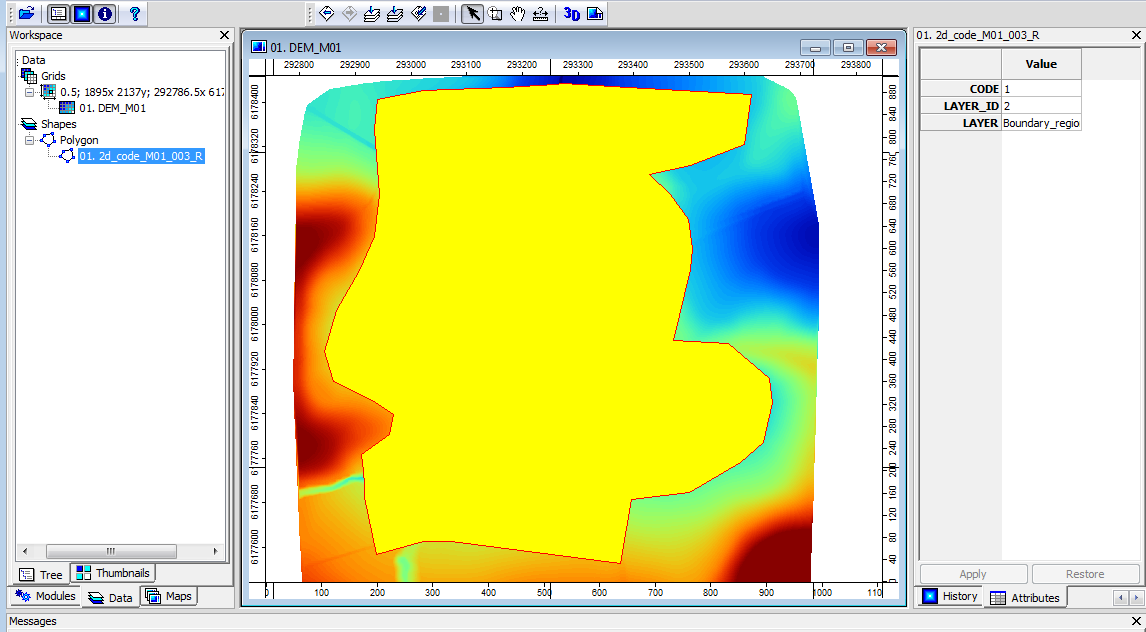
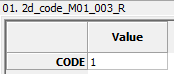
- In the attributes window, we can seen the region object has three attributes:
- Code = 1
- Layer_ID = 2
- Layer = Boundary_region
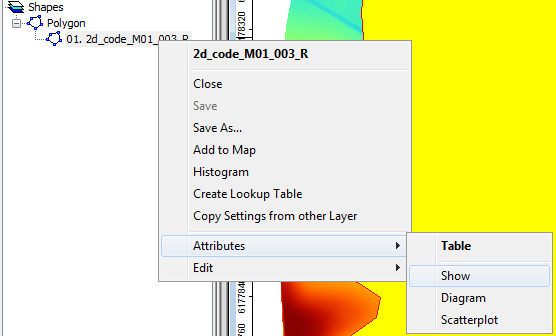
The additional attributes were added by the merge process, these data attributes will be ignored by TUFLOW, alternatively they can be deleted, using the methodology below. - To delete the additional attributes created by the merge process, right click on the shape layer in the workspace tab and select Attributes >> Show.
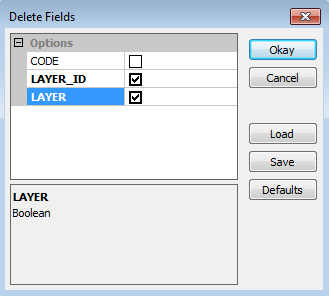
- Select Delete Fields (icon shown below).
 Delete Fields Icon
- Select the "Layer_ID" and "Layer" checkboxes, and select Okay.
- Re-selecting the region object, should show the updated attributes.
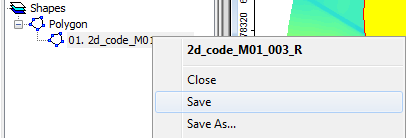
- Right click on the 2d_code layer in the workspace window and select Save.
- Enter the following line of text into the TGC file after the Set Code == 0 command and save the TGC file.
Read GIS Code == ..\model\gis\2d_code_M01_002_R.SHP


Conclusion
SAGA has been used to create a 2d_code layer which sets the code value for cells inside the boundary polygon to active (code = 1). Please return to the tutorial model module 1 page here.