QGIS Profile Tool: Difference between revisions
Jump to navigation
Jump to search
Content deleted Content added
Chris Huxley (talk | contribs) No edit summary |
|||
| (2 intermediate revisions by one other user not shown) | |||
| Line 1: | Line 1: | ||
= Profile Tool = |
|||
== Plot grid elevation profiles== |
|||
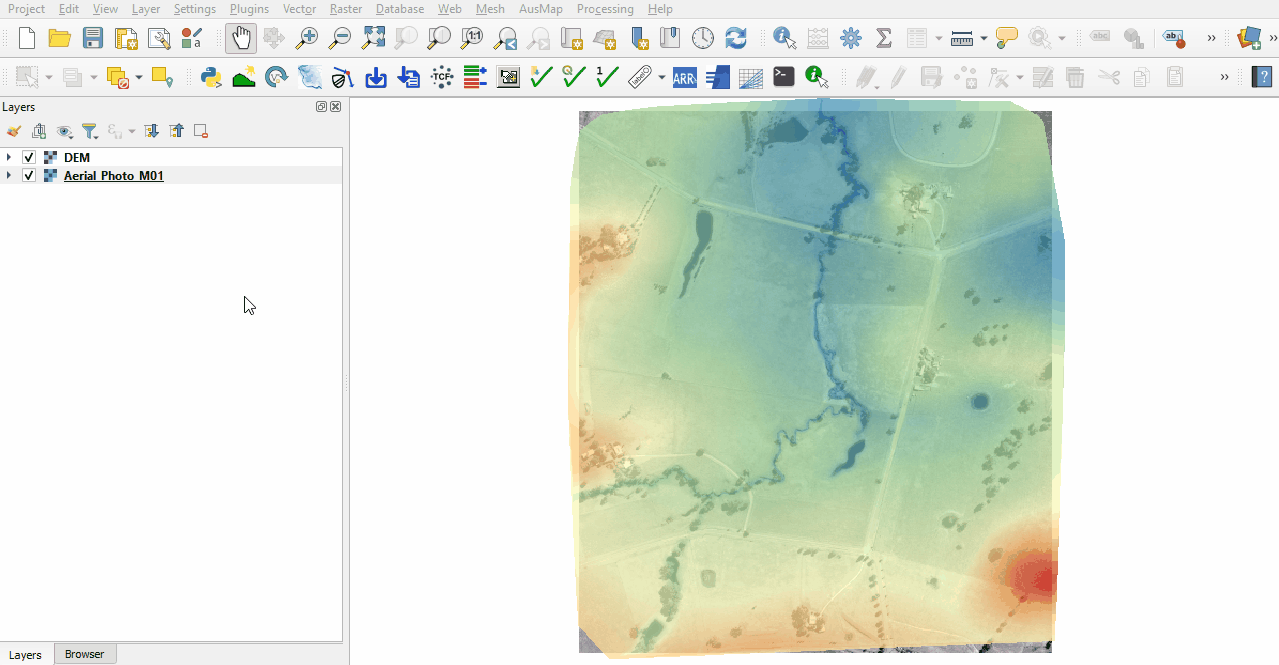
In QGIS the grid elevation profile can be viewed using the Profile Tool plugin.<br> |
|||
== Installation == |
|||
In QGiS 1.8 the grid elevation profile can be viewed using the "Profile Tool" plugin which can be installed from the plugin repository. Select the raster you wish to profile (more can be added later) in the the layer control and then start the profile tool by selecting - '''Plugins >> Profile Tool >> Terrain Profile'''.<br> |
|||
To install the Profile Tool: |
|||
<ol> |
|||
<li>Go to Plugins > Manage and Install Plugins. |
|||
<li>Type 'Profile Tool' in the search bar. |
|||
<li>Click Install Plugin. |
|||
<li>It is recommended to close all QGIS workspaces and re-open the app. |
|||
<li>Right click on the tool bar and ensure that 'Plugins Toolbar' is turned on.<br> |
|||
<br> |
<br> |
||
[[File: |
[[File:Animation ProfileTool 0102.gif]]<br> |
||
<br><br> |
|||
Using the line tool, draw a line, intermediate clicks will be plotted as a vertical line, a useful feature for determining locations. Finish the line by double clicking. The profile will be displayed. Additional rasters can be added using the dialogue. |
|||
<br> |
<br> |
||
</ol> |
|||
An example of comparative elevations for a 10m grid and a 2m grid are shown. |
|||
== Use == |
|||
<ol> |
|||
<li>Open the Profile Tool by clicking on the 'Terrain Profile' icon. |
|||
<li>Select the raster from the layer control panel and click 'Add Layer' in the Profile Tool. Multiple layers may be added. |
|||
<li>There are many selection options, the below example uses a temporary polyline. Finish the line by double clicking. <br> |
|||
<br> |
<br> |
||
[[File: |
[[File:Animation ProfileTool 03.gif]] |
||
</ol> |
|||
<br> |
<br> |
||
<br> |
<br> |
||
Latest revision as of 12:14, 7 January 2022
Profile Tool
In QGIS the grid elevation profile can be viewed using the Profile Tool plugin.
Installation
To install the Profile Tool:
- Go to Plugins > Manage and Install Plugins.
- Type 'Profile Tool' in the search bar.
- Click Install Plugin.
- It is recommended to close all QGIS workspaces and re-open the app.
- Right click on the tool bar and ensure that 'Plugins Toolbar' is turned on.


Use
- Open the Profile Tool by clicking on the 'Terrain Profile' icon.
- Select the raster from the layer control panel and click 'Add Layer' in the Profile Tool. Multiple layers may be added.
- There are many selection options, the below example uses a temporary polyline. Finish the line by double clicking.

| Up |
|---|