Codemeter Enable Logging: Difference between revisions
Jump to navigation
Jump to search
Content deleted Content added
| Line 12: | Line 12: | ||
</li> |
</li> |
||
<li>Go to "File" and check "Logging".</li> |
<li>Go to "File" and check "Logging".</li> |
||
[[Codemeter_Enable_Logging_01.png|600px |
[[Codemeter_Enable_Logging_01.png|600px]] |
||
<br> |
<br> |
||
This can also be access by pointing an internet browser to: [[http://localhost:22350/ http://localhost:22350/]] |
This can also be access by pointing an internet browser to: [[http://localhost:22350/ http://localhost:22350/]] |
||
Revision as of 11:56, 9 April 2018
This page is under construction!!!
Introduction
This page contains instructions for enabling "Logging" in Codemeter Control Centre. "Logging" is a very useful functionality to monitor the licence allocation by Codemeter.
Method
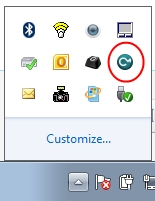
- Open the CodeMeter Control Centre. This can be done via the icon on the taskbar:

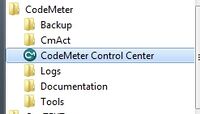
Or via the start menu:

- Go to "File" and check "Logging". 600px
- Navigate to the Configuration >> Server >> Server Access tab and enable the Network Server checkbox and hit Apply.
- The network licence should now be available. This can be tested on the server by double clicking on a TUFLOW executable.
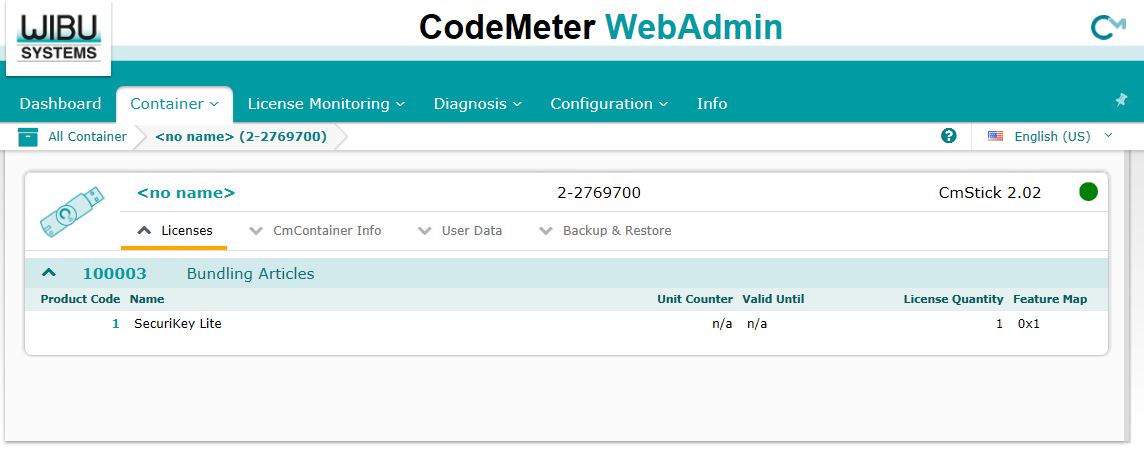
This can also be access by pointing an internet browser to: [http://localhost:22350/]
The following CodeMeter webpage will appear.
