Codemeter Enable Logging: Difference between revisions
Jump to navigation
Jump to search
Content deleted Content added
| Line 14: | Line 14: | ||
[[File:Codemeter_Enable_Logging_01.png|600px]] |
[[File:Codemeter_Enable_Logging_01.png|600px]] |
||
<br> |
<br> |
||
<li>By default, Codemeter will create .log files in "C:\ProgramData\CodeMeter\Logs". A log file record all the access history between a network server and clients. It also records error messages if an access is denied.</li> |
|||
This can also be access by pointing an internet browser to: [[http://localhost:22350/ http://localhost:22350/]] |
|||
[[File:Codemeter_Enable_Logging_02.png|800px]] |
|||
<br> |
<br> |
||
The following CodeMeter webpage will appear. |
|||
<br> |
|||
[[File:Codemeter_v6.40d_WebAdmin.JPG|800px|]] |
|||
<li>Navigate to the '''Configuration >> Server >> Server Access''' tab and enable the '''Network Server''' checkbox and hit Apply.</li> |
|||
[[File:Codemeter_v6.40d_Network_Server.JPG|800px]] |
|||
<li>The network licence should now be available. This can be tested on the server by double clicking on a TUFLOW executable.</li> |
|||
Revision as of 14:10, 9 April 2018
This page is under construction!!!
Introduction
This page contains instructions for enabling "Logging" and "License Tracking" in Codemeter Control Centre. These functionalities can be used to check and monitor the licence allocation by Codemeter.
Turn On Logging
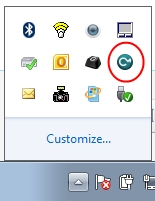
- Open the CodeMeter Control Centre. This can be done via the icon on the taskbar:
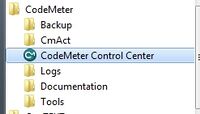
Or via the start menu:
- Go to "File" and check "Logging".
- By default, Codemeter will create .log files in "C:\ProgramData\CodeMeter\Logs". A log file record all the access history between a network server and clients. It also records error messages if an access is denied.


