QGIS Relief Shading
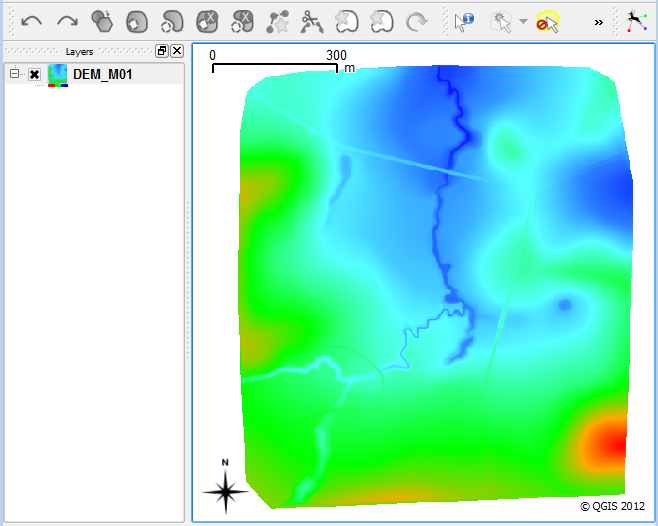
- Ensure that you have your DEM open in QGIS, and have an appropriate colour map shading. The DEM without relief shading is shown below.
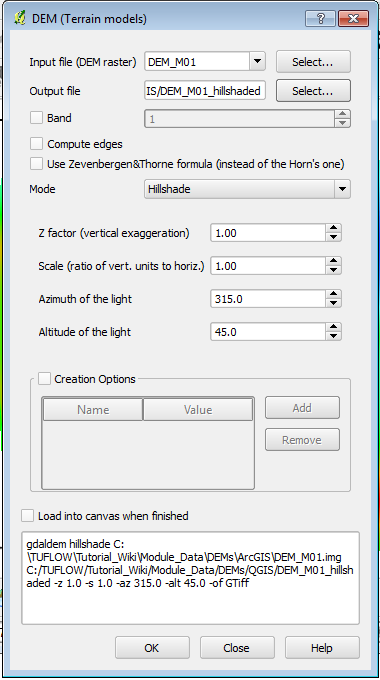
- From the menu items select - Raster >>> DEM (Terrain Models).
- Select the input DEM, and an output filename (a new hillshading DEM will be created). Make sure the Mode is set to Hillshade.
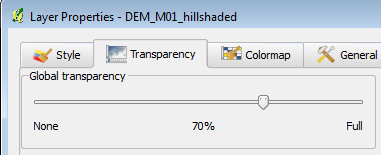
- Open the output file. Position this in the Layer Control section above the DEM, and set a transparency for the layer.
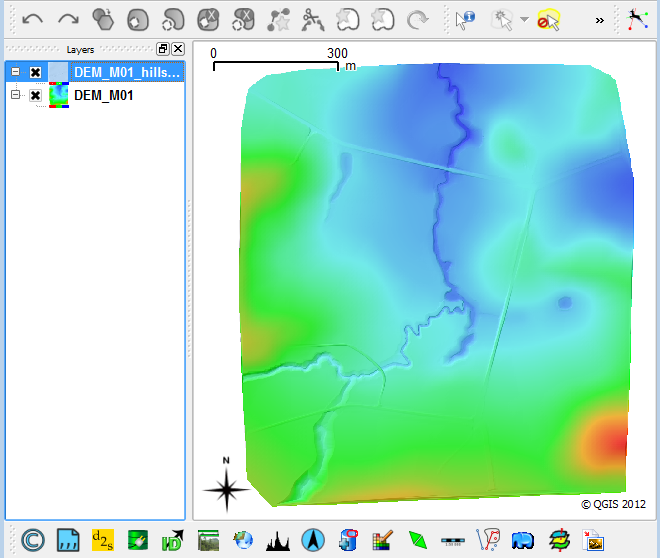
- The DEM should now have relief shading, the relief shaded DEM is shown below.
Method
Relief shading gives a DEM a more "3D" look. To use relief shading in QGIS, follow the steps outlined below:


| Up |
|---|