Difference between revisions of "Tutorial M06 003 GIS Inputs QGIS"
Jump to navigation
Jump to search
(Created page with "= Introduction = QGIS is used to create, import and view input data.<br> <br> = Method = Navigate to the '''Module_06\Tutorial_Data''' folder. Copy the below GIS files into t...") |
(→Method) |
||
| Line 5: | Line 5: | ||
= Method = | = Method = | ||
Navigate to the '''Module_06\Tutorial_Data''' folder. Copy the below GIS files into the '''Module_06\TUFLOW\model\gis''' folder: | Navigate to the '''Module_06\Tutorial_Data''' folder. Copy the below GIS files into the '''Module_06\TUFLOW\model\gis''' folder: | ||
| − | :*2d_rf_M06_pt2grid_003_P | + | :*'''2d_rf_M06_pt2grid_003_P''' |
Investigate the supplied file: | Investigate the supplied file: | ||
Revision as of 15:49, 14 June 2023
Introduction
QGIS is used to create, import and view input data.
Method
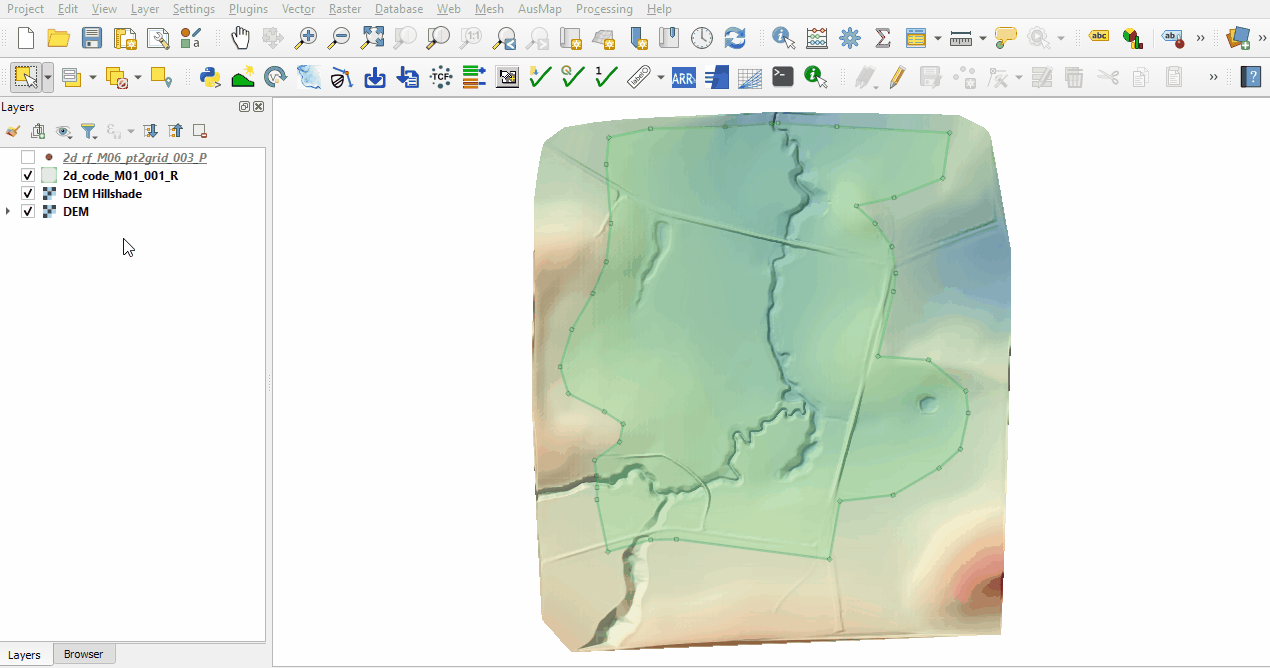
Navigate to the Module_06\Tutorial_Data folder. Copy the below GIS files into the Module_06\TUFLOW\model\gis folder:
- 2d_rf_M06_pt2grid_003_P
Investigate the supplied file:
- Open the file, either:
- Drag and drop the .shp file into the QGIS workspace, or
- Select Layer > Add layer > Add Vector Layer and navigate to the Module_06\TUFLOW\model\gis folder.
- The 2d_rf layer represents locations of the gauges. Inspect the attributes, the names are matching the names in the bc_dbase.

Conclusion
- The 2d_rf points layer for creating gridded rainfall was inspected.
| Up |
|---|