Tute M01 Inspect Zpts MI Discover Archive
Jump to navigation
Jump to search
- Import the 2d_zpt_M01_5m_002.mif layer into MapInfo saving as 2d_zpt_M01_5m_003.tab. It is important to name the 2d_zpt table as version 003, as it will be used for Simulation 003. Add the layer to the Layer Control. The Zpts should appear as a mass of points as illustrated below.
- Using the MapInfo Info tool on one of the points should show something similar to the below.
- Select all the Zpts, by using Query >> Select. In the Select dialogue, in the Select Records from table drop box, select the 2d_zpt_M01_5m_003 table. Uncheck the Browse Table option and select OK. This should select all of the zpts.
TIP: A shortcut is to ensure that the layer you want to select from is at the top of the Layer Control (under Cosmetic Layer). To select all use Query >> Select all from 2d_zpt_M01_5m_003. - To set the elevations from the DEM use the Encom Discover Surfaces >> Assign Values from Grid menu item. When prompted set the Assign Value to Column to Elevation, as per the image below.
- Open the Select dialogue box by selecting Query >> Select….
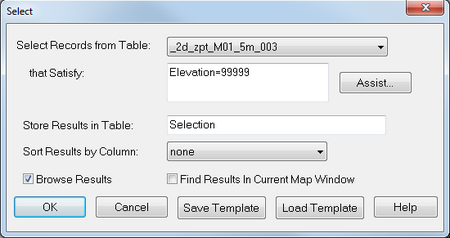
- Select the 2d_zpt layer and enter in a condition that selects all Zpts with Elevation of 99,999 (using the Assist… dialogue is useful for this). Ensure the Brose Results is selected. The dialogue should appear as shown below.
- Click on OK.
- All Zpts that have a value of 99,999 will now be highlighted with a black box on the left hand side of the Browser window that appears. Press the Delete key to delete all selected Zpts.
- Close the Browser Window.
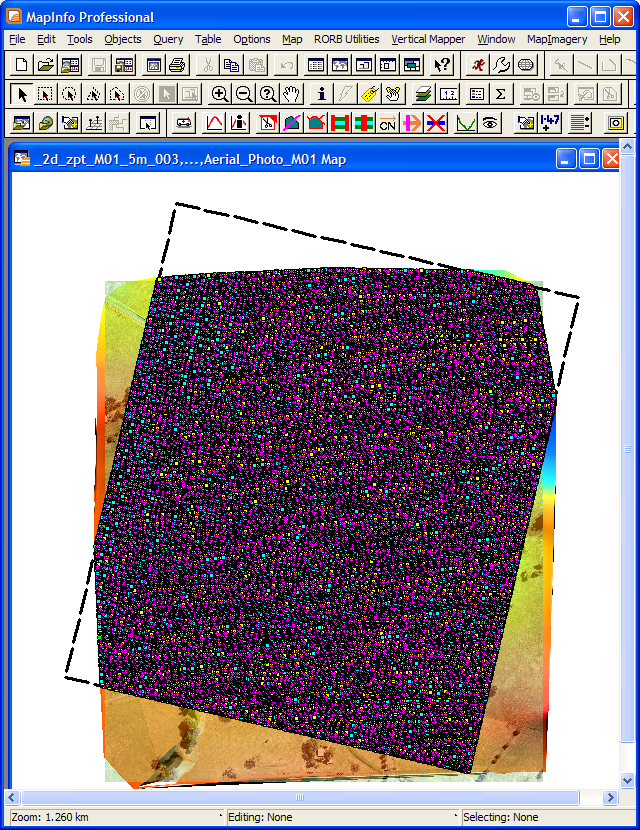
- Save the 2d_zpt layer. If you add the layer to the Map window, you can see which Zpts remain as shown below.
- Export the 2d_zpt layer in the same folder as the .tab file (this should be the TUFLOW\model\mi folder).
- Save the current TGC file as M01_5m_003.tgc. Comment out or delete the Write MI and Stop lines entered previously (these are no longer needed).
- Add the following lines to the TGC file and save. Set Zpts == 75
Introduction
This page describes the process of assigning elevations in the 2D model using MapInfo with the Encom Discover Mapper add in. The process involves importing the Zpts created in the tutorial module 1 and doing an point inspection to assign elevations at each Zpt.
Method
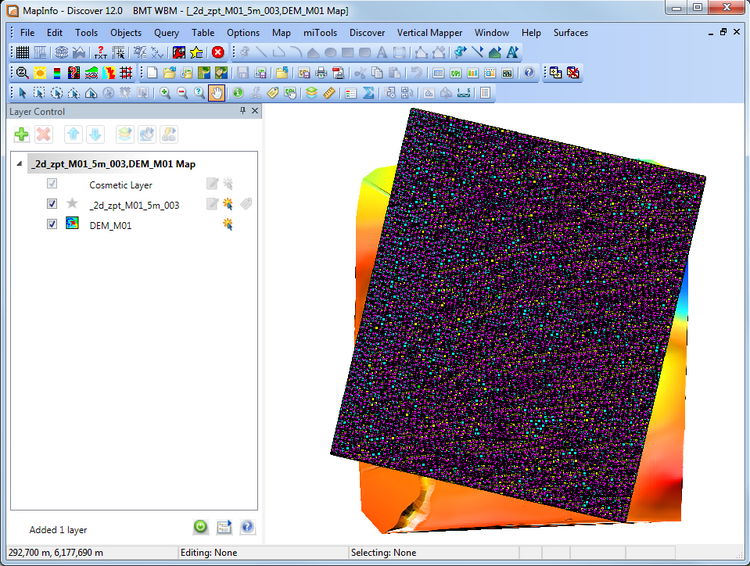
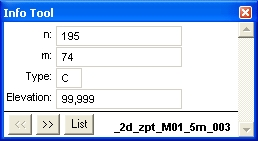
Notice that the Elevation attribute is set at 99,999 for all Zpts. This is the TUFLOW null value. The n and m attributes are the 2D domain row and column of the 2D cell the Zpt is associated with. The Type attribute describes whether the Zpt is an H, U, V or C type. The Zpt types are explained in Section 4.4.4 of the 2010 TUFLOW User Manual. The next step is to assign elevations to each of the Zpts.
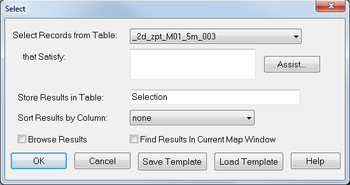

Encom Discover inspects every point in the 2d_zpt_M01_5m_003 table and assigns an elevation to each point based on the DEM in the Grid Manager. The following warning will appear, to inform you that not all elevations are within the DEM area. Click OK to close.
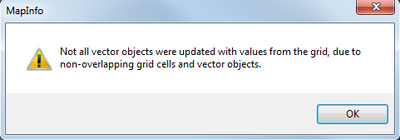
It is important to at this stage to remove all Zpts that have not been updated, as these have the TUFLOW null elevation of 99,999.
Read RowCol Zpts == ..\model\mi\2d_zpt_M01_5m_003.MID
Conclusion
The Zpts have been inspected from the DEM, the geometry control file (.tgc) updated to use the inspected zpts. Please return to the tutorial model module 1 page where the next step is to define the active areas.