Tute M01 Zpt Check MI Archive
Introduction
MapInfo will be used to import the check files and view the final elevations in the 2D model.
Method
With the Write Check Files command specified, TUFLOW will output the elevations in the model in two formats. The elevations at the cells are contained in a point layer, this file is named M01_5m_002_zpt_check.mif and is located in the TUFLOW\check\2d\ folder. Since the TUFLOW model is rotated (not north-south aligned). This file contains the exact elevations in the model. However, this not so easy to visualise and TUFLOW also outputs a raster (gridded) dataset in the ESRI ascii format. This can be viewed easily in most GIS packages including MapInfo.
- Open the Import Dialogue by selecting Vertical Mapper >> Create Grid >> Import Grid...
- Select Add... and then navigate to the TUFLOW\Check\2D\ directory and select the M01_5m_002_DEM_Z.asc.
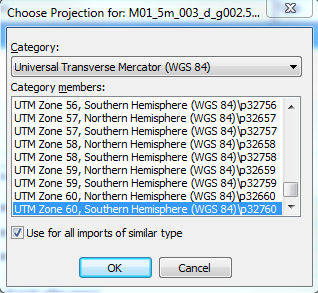
- When prompted, select the projection as Universal Transverse Mercator (WGS 84) and select the UTM Zone 60 Southern Hemisphere.
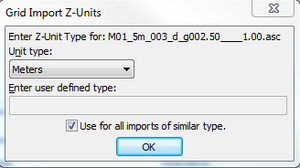
Tip: If importing multiple grids ensure you check the Use for all imports of similar type checkbox, as per the image below (otherwise you will be prompted for each grid). - When prompted select the Z-Units for the import (Metres).
- Select OK to import the grid.


Conclusion
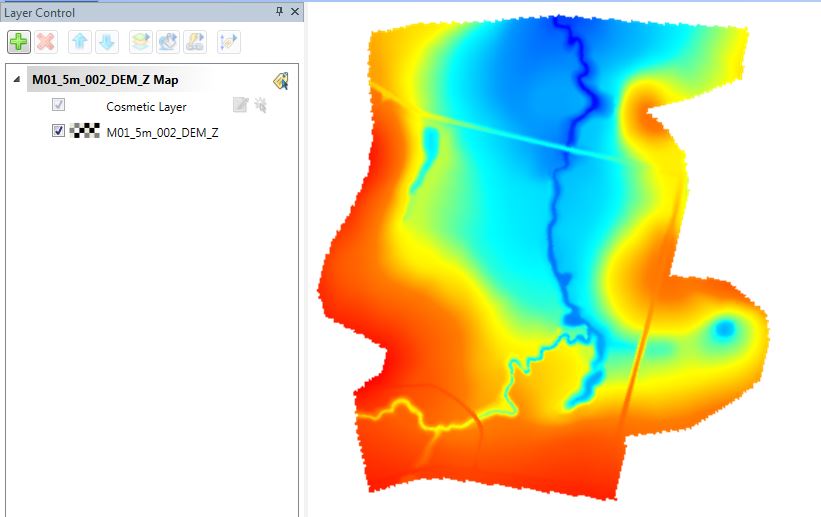
If the elevations in MapInfo file look like the above, the DEM or TIN input has been successful! A similar process can be used to view the land use (materials) areas with the M01_5m_002_DEM_M.asc.
If the TUFLOW\check\2d\ folder contains a DEM_Z.flt and not a DEM_Z.asc then the command "Grid Format == ASC" needs to be added to the .tcf file.
Return to the Tutorial Module 1 where we will view the TUFLOW results.