Tute MI M01 Create Projection Archive
Jump to navigation
Jump to search
This page describes the process of creating a new MapInfo table and setting the projection. This layer is input to TUFLOW to set the GIS coordinate system of the model. Before starting this ensure that you have the DEM and aerial photo open in MapInfo and in a map window as per the image below:

- Open the New Table dialog box by selecting File >> New Table...
- Uncheck 'Open New Mapper' and check 'Add to Current Mapper' then click the Create... button to open the New Table Structure dialog box. Ensure that you add to the current mapper otherwise the new table will not be in the same GIS projection as the aerial photos and DEM
- Add a dummy field and click Create... button. Refer to dialog below.
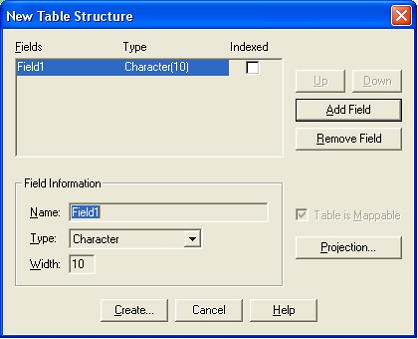
Note: If you don't want the projection to match your aerial photo (required in TUFLOW tutorial model only) you can select your projection with the Projection... button in this dialog. - Name the table Projection.tab and save to the tuflow\model\mi folder.
- Export the new table in MID/MIF format by selecting Table >> Export.... Use the same name as the table and keep in the same folder.

You have now successfully created a projection.mif file. It will be used by TUFLOW to define the model projection (Coordinate system). Please return to the tutorial module page here.