Tute QGIS M01 Create Projection Archive
Jump to navigation
Jump to search
- Open QGIS and select Layer >> Create Layer >> New Shapefile Layer.
- In the New Vector Layer dialogue shown below, select the Specify CRS button.
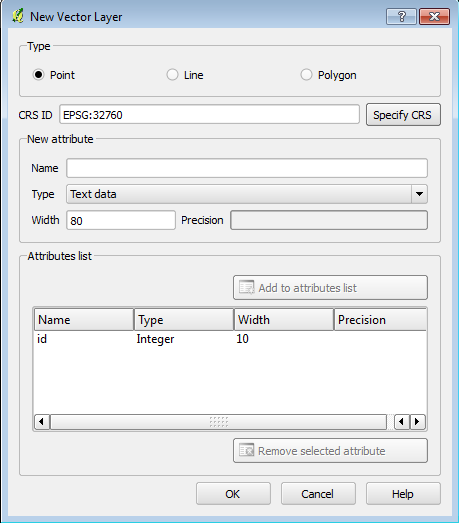
- In this dialogue we set the coordinate reference system for the shapefile, this will define the projection of the TUFLOW model. Generally this will be the same coordinate system as the DEM. In this model we will use the WGS 84, UTM zone 60S projection. To locate this in the QGIS interface:
- Expand the Universal Transverse Mercator (UTM) option
- Select the WGS / UTM zone 60S from the expanded dialogue.
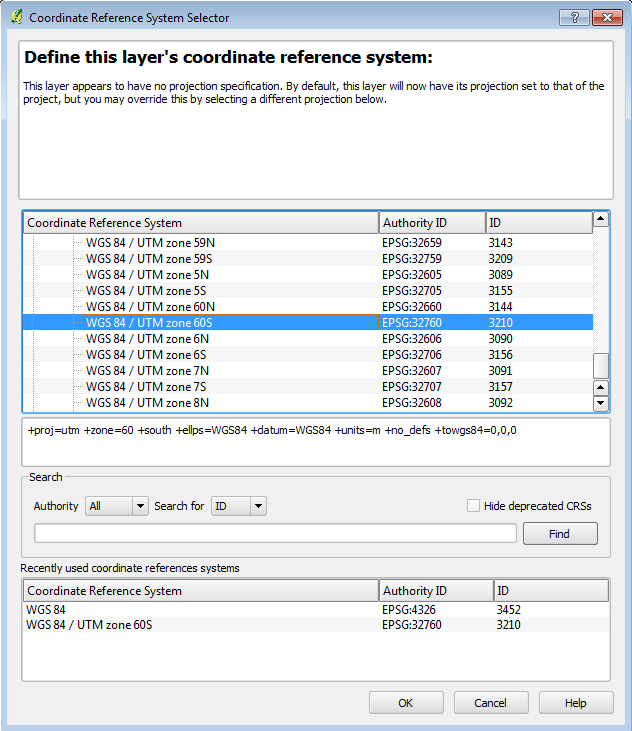
- The CRS ID EPSG:32760 should be displayed in the New Vector Layer dialogue. Select OK.
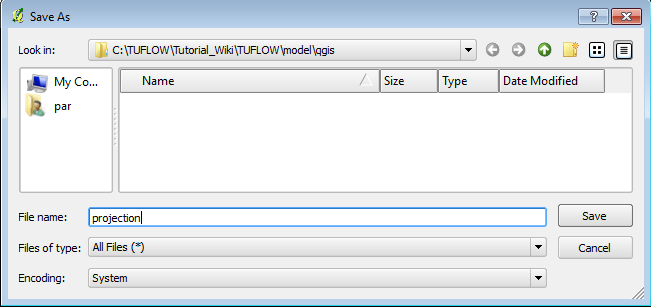
- In the next dialogue, we specify the name and location for the new file. Navigate to the TUFLOW\model\gis\ location and save the layer as Projection
Introduction
This page describes the process of creating a new shapefile using QGIS. We will define the file projection of this shapefile. It will be used to set the GIS coordinate system (projection) of the TUFLOW model.
Method


Conclusion
A new GIS layer has been created. This file will be used to define the projection of the TUFLOW model. Please return to the tutorial module page here.