Tute SMS M01 Define 2D Domain Archive
Jump to navigation
Jump to search
Define Location and Dimensions of the 2D Domain and Create Z Points
The SMS interface allows the user to specify the extents of the domain visually, using the spatial data as a reference. As long as the model is set up correctly, the appropriate files with necessary commands are created by SMS when using the "Export TUFLOW Files" command before running the model. This page describes how to define the location and dimensions of the 2D domain and also how to set the base elevations within the model using SMS.
- Read in the TIN file \Module_Data\DEMs\DEM_M01.SMS.tin and aerial image file \Module_Data\Aerial_Photos\Aerial_Photo_M01.jpg. After loading these files, SMS window will look like this:
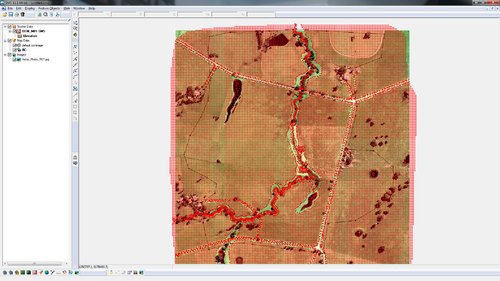
The DEM file contains the elevation data (Zpts) for the model.
- To define the location and dimensions of the 2D domain (grid), right click on the default coverage layer titled “Area Map” under the “Map Data” folder in the Project Explorer.
- Select Type >> Models >> TUFLOW >> 2D Grid Extents.
- Select the Create 2-D Grid Frame tool.

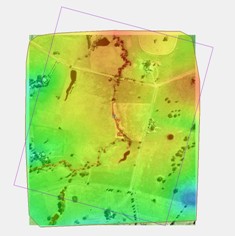
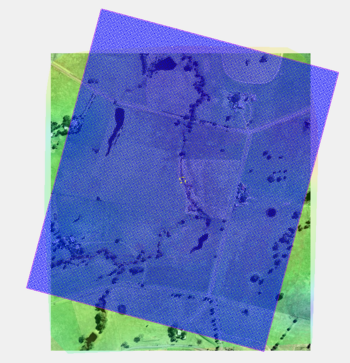
Create a grid frame around the area shown to the right by clicking on three of the corners.
- If you wish to edit the location/size of the grid frame after creating it, first select the grid frame by choosing the Select 2-D Grid Frame tool and clicking in the box in the center of the grid frame. This exposes the editing handles. You can drag the handles on each side and corner of the grid frame to adjust the size of the grid frame. The circle near one of the grid frame corners can be used to rotate the grid frame.
- Select Feature Objects >> Map -> 2D Grid. This will bring up the Map >> 2D Grid dialog.
- Although the grid extents, size and orientation have already been set using the Create 2-D Grid Frame tool, specify the following settings in the Grid Frame Properties dialog to ensure consistency with the provided solutions data:
Origin X: 292725
Origin Y: 6177615
Angle: 345
I size: 850 m
J size: 1000 m
Cell size: 5 m
- In the Elevation Options section of the Map >> 2D Grid dialog, set the Source to "Scatter set". Then, select the button below it. This will bring up the Interpolation dialog.
- In the Scatter Set To Interpolate From section, make sure that "Elevation" is the scatter set that is selected.
- Change the Extrapolation to "Single Value" and enter this Single Value as 75 m. SMS assigns all cells not inside the TIN to this value. The value was chosen because it is above all the elevations in the TIN, but not so large as to throw off the contour intervals.
- Select OK twice. This will create a new item in the project explorer under Cartesian Grid Data named “TUFLOW grid”.
- Rename the grid “TUFLOW grid” to “5m”.
The above steps cover how to define the location and dimensions of the 2D domain and also how to set the base elevations within the model.
Click here to Define Preliminary Active and Inactive Areas of the 2D Domain.


