Difference between revisions of "Tutorial M10 002 GIS Inputs QGIS GPKG"
Jump to navigation
Jump to search
(→Method) |
(→Method) |
||
| Line 24: | Line 24: | ||
<li>The tool removes the source layer from the Layers panel and the '''2d_vzsh_M10_dambreak_002_R''' appears:<br> | <li>The tool removes the source layer from the Layers panel and the '''2d_vzsh_M10_dambreak_002_R''' appears:<br> | ||
<br> | <br> | ||
| − | [[File: | + | [[File:Animation_M10_GPKG_002_GIS_01.gif]]<br> |
<br> | <br> | ||
<li>Right click on the '''2d_vzsh_M10_dambreak_002_R''' layer to toggle on Editing. | <li>Right click on the '''2d_vzsh_M10_dambreak_002_R''' layer to toggle on Editing. | ||
Revision as of 10:58, 1 August 2023
Page Under Construction
Introduction
QGIS is used to create, import and view input data.
Method
Setup the GeoPackage Database:
- Navigate to the Module_10\TUFLOW\model\gis folder. Save a copy of M10_001.gpkg as M10_002.gpkg.
Increment the dambreak layer from Part 1 to change time trigger into water level trigger:
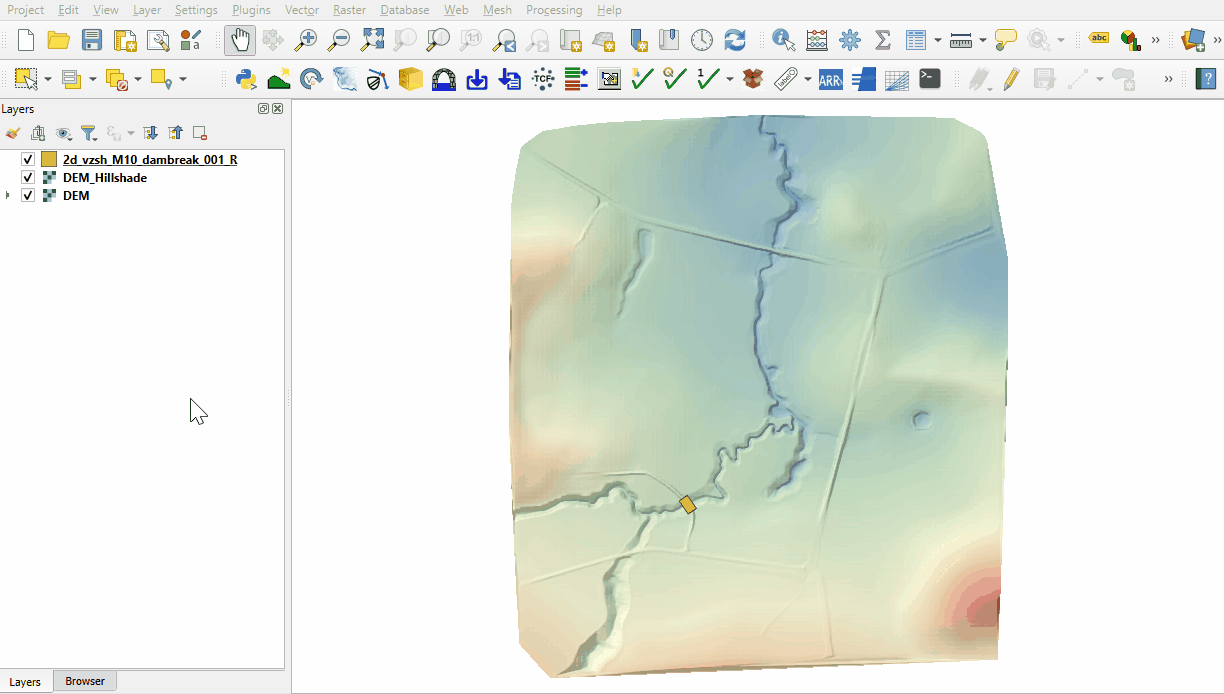
- Load in the 2d_vzsh_M10_dambreak_001_R layer from M10_002.gpkg, either:
- Within the QGIS Browser Panel, navigate to M10_002.gpkg and double click the layer, or
- In File Explorer, drag and drop the M10_002.gpkg into the QGIS Workspace and select the layer.
- Select the 2d_vzsh_M10_dambreak_001_R layer in the Layers panel.
- Click on the ‘Increment Selected Layer’ symbol from the TUFLOW Plugin toolbar.
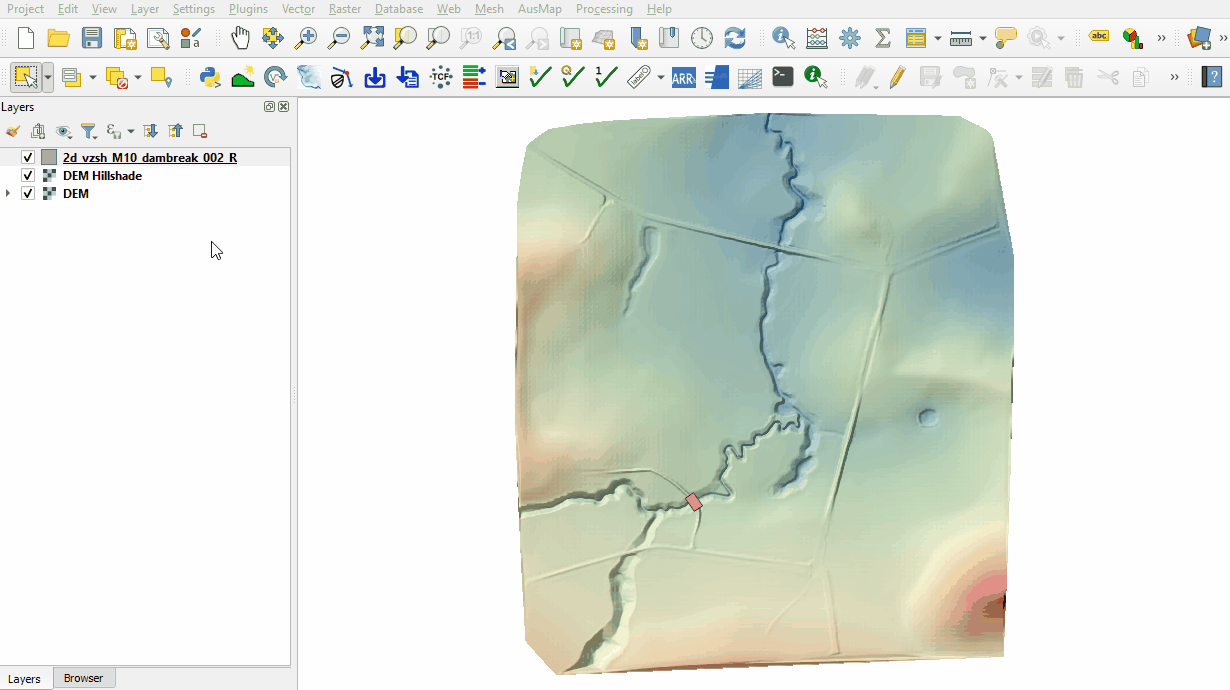
- The tool automatically renames the 2d_vzsh_M10_dambreak_001_R to 2d_vzsh_M10_dambreak_002_R. Ensure the 'Output Database' is M10_002.gpkg.
- Select to remove the source layer from the workspace.
- Click 'OK'.
- The tool removes the source layer from the Layers panel and the 2d_vzsh_M10_dambreak_002_R appears:
- Right click on the 2d_vzsh_M10_dambreak_002_R layer to toggle on Editing.
- Click on the 'Identify Features' tool and click on the polygon.
- Update the following attributes:
- Trigger_1: WL_Trigger
- Trigger_Value: 60
- Period: 0.5
- Click 'OK' and turn off editing to save the edits.


Create a point to set the location of the water level trigger:
- Click on the ‘Import Empty File’ symbol from the TUFLOW Plugin toolbar.
- Select '2d_vzsh' from the Empty Type list.
- In the Run ID box write 'M10_dambreak_002'.
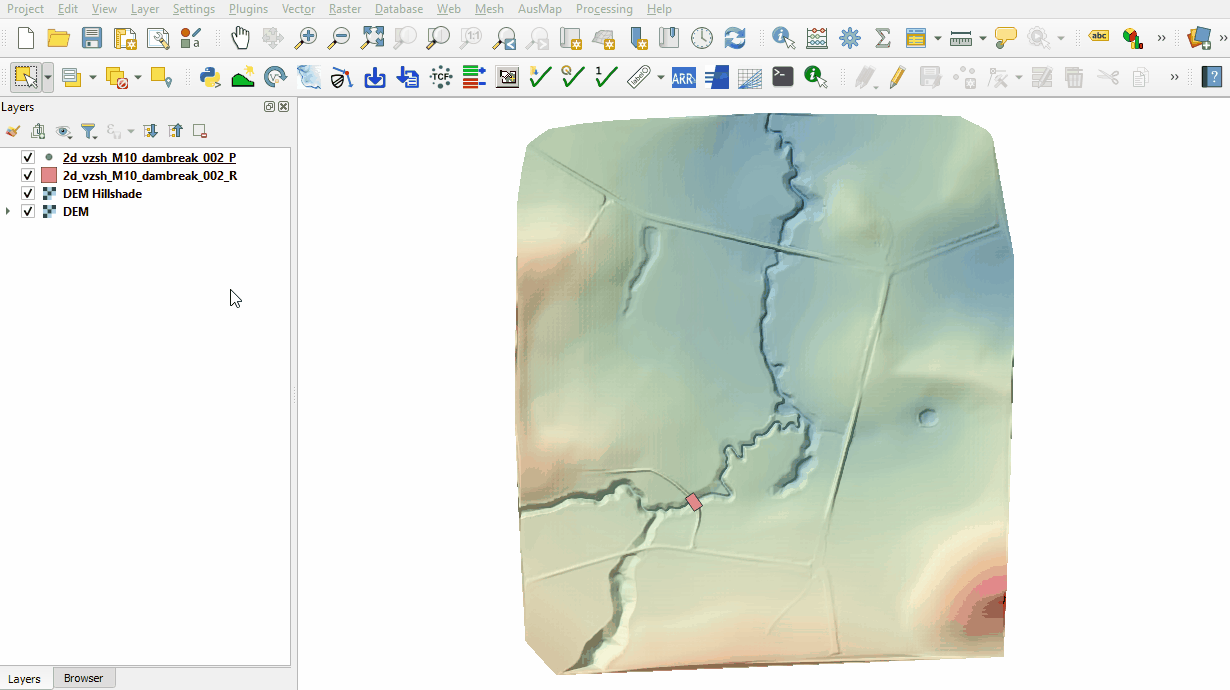
- Tick the 'Points' Geometry Type and hit 'OK'. The 2d_vzsh layer appears in the Layers panel.
- Right click on the 2d_zsh_M10_dambreak_002_P and toggle on Editing.
- Select 'Add Point Feature'.
- Digitise a point within the dam upstream of the location of the dam break.
- An attributes dialog displays, enter the following attributes:
- Shape_Option: TRIGGER
- Trigger_1: WL_Trigger
- Click 'OK' and turn off editing to save the edits.

Conclusion
- A 2d_vzsh region layer was modified to simulate a dambreak based on water level at specific point.
- A 2d_vzsh point layer was created to set the location of the water level trigger.
| Up |
|---|