ArcGis Tips: Difference between revisions
Chris Huxley (talk | contribs) |
Chris Huxley (talk | contribs) |
||
| Line 43: | Line 43: | ||
* Select a TUFLOW folder for your model. This should be the folder that contains the entire TUFLOW model folder structure. For example, if your TUFLOW folder is "D:\projects\Example\TUFLOW", the folder set here should be “D:\projects\Example\”. All of the following tools will use this location. |
* Select a TUFLOW folder for your model. This should be the folder that contains the entire TUFLOW model folder structure. For example, if your TUFLOW folder is "D:\projects\Example\TUFLOW", the folder set here should be “D:\projects\Example\”. All of the following tools will use this location. |
||
* Enter the file path to the TUFLOW executable |
* Enter the file path to the TUFLOW executable |
||
* Select the projection for the |
* Select the projection for the TUFLOW model |
||
[[File:ArcGIS_Utility_004a.jpg]] |
[[File:ArcGIS_Utility_004a.jpg]] |
||
Revision as of 09:28, 12 December 2014
Introduction
This page contains a brief introduction to the use of ArcGIS for use in TUFLOW modelling. Please add ArcGIS Suggestions Here!.
In these ArcGIS shapefiles different object types (points, lines and regions) are stored in separate files. When TUFLOW outputs in shapefile format, each file ends in:
- _P to indicate a point file;
- _L to indicate a line file; or
- _R to indicate a region (polygon) file.
Basics
This page is still being completed, In this section will be some basic GIS functions that are regularly used in creating TUFLOW models in ArcGIS.
- Create a projection file for TUFLOW
- Create a grid from points
- Convert raster to .asc format for direct read in TUFLOW
- Convert raster to .flt format for direct read in TUFLOW
Tips and Tricks
- Labelling messages file
- Convert lines to points
- Assign raster value to points (point inspection)
- Extract breakline for TUFLOW import
We plan to expand this section, please feel free to contribute on the discussion page: Talk:ArcGIS_Tips
Alternatively suggestions can be emailed to support@tuflow.com.
arcTUFLOW Toolbox
A toolbox is available for Arc Map 10.0 and 10.1, this toolbox helps with streamlining the process of creating and editing a TUFLOW model in ArcMap. This utility can be downloaded via the TUFLOW forum here.
Loading the Utility
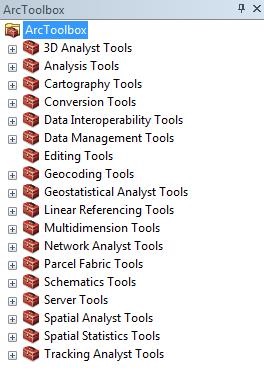
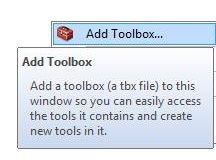
To use you will need to unzip file above, open ArcMap and in the toolbox window, right click and select “add toolbox”.
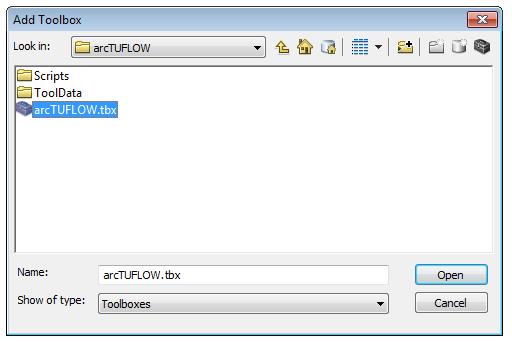
Navigate to the ArcTUFLOW directory, select ArcTUFLOW.tbx and then choose open (note you can’t double click on this).
This should add the toolbox as per the image below.
Configure TUFLOW (Required Initialization Step)
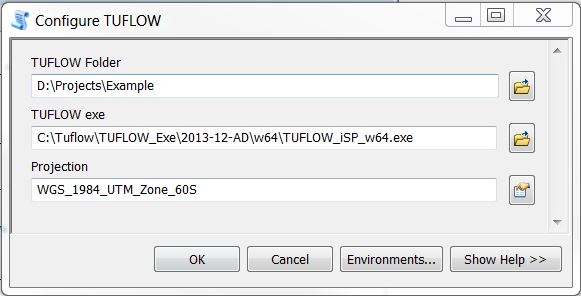
The first item “Configure TUFLOW” creates a configuration file for all of the arcTUFLOW tools based on the map document. The steps for running the configuration tool are outlined below:
- Open or save a map document before running).
- Select a TUFLOW folder for your model. This should be the folder that contains the entire TUFLOW model folder structure. For example, if your TUFLOW folder is "D:\projects\Example\TUFLOW", the folder set here should be “D:\projects\Example\”. All of the following tools will use this location.
- Enter the file path to the TUFLOW executable
- Select the projection for the TUFLOW model
Create TUFLOW Files
File:ArcGIS Utility 005.jpg File:ArcGIS Utility 006.jpg


