QGIS SWMM BC Create Channel Endpoint 1D/2D Connections
Introduction
This tool creates 1D/2D connections at the endpoints of SWMM channels. HX connections are created on the upstream end and SX connections are created on the downstream end. The connections should be reviewed to ensure that they are correctly positioned.
Note: The positions of the HX and SX connections may not be completely accurate, so it is recommended for the user to check the output.
Usage
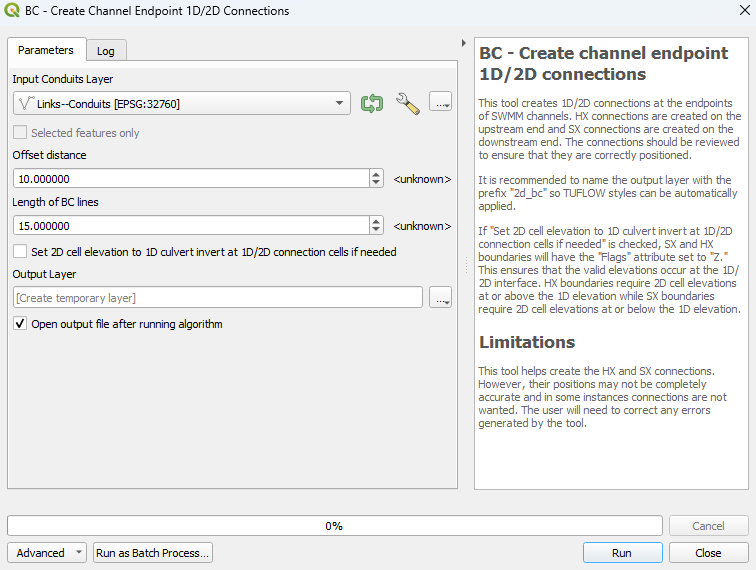
This tool can be found in the QGIS processing toolbox panel under 'TUFLOW > SWMM'. To open the Processing Toolbox Panel, navigate to 'Processing' in the menubar and select 'Toolbox'.

Parameters
- Input Conduits Layer: The conduits layer to which the 1D/2D connections will be made.
- Offset distance: Distance from the channel endpoint to the midpoint of the BC line.
- Length of BC lines: As the name suggests.
- Set 2D cell elevation to 1D culvert invert at 1D/2D connection cells if needed: If this is checked on, SX and HX boundaries will have the "Flags" attribute set to "Z." This ensures that the valid elevations occur at the 1D/2D interface. HX boundaries require 2D cell elevations at or above the 1D elevation while SX boundaries require 2D cell elevations at or below the 1D elevation.
- Output Layer: Determines the output file. Details on the options are below.
- Output Options:
- For each of the following options, the tool will output a new layer and won't override any existing files.
- Note: It is recommended to name the output layer with the prefix 2d_bc so TUFLOW styles can be automatically applied.
- Create Temporary Layer:
- Creates a temporary scratch layer. This layer will open into the QGIS workspace but it will not be saved anywhere.
- Create Temporary Layer:
- Save to File...:
- The user can navigate to a folder and save the layer to a new GeoPackage Database.
- Save to File...:
- Save to GeoPackage...:
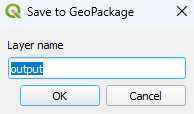
- The user can navigate to an existing GeoPackage Database. Once selected, a 'Layer Name' dialog will appear. Enter the new layer name, and the new layer will be saved as that name in the GPKG.
- Save to GeoPackage...:
- Save to Database Table...:
- ???
- Save to Database Table...:
- Append to Layer...:
- ???
- Append to Layer...:

Example
| Up |
|---|

