QGIS SWMM GeoPackage Write to SWMM inp: Difference between revisions
Jump to navigation
Jump to search
Content deleted Content added
| Line 21: | Line 21: | ||
== Example == |
== Example == |
||
<br> |
<br> |
||
{{Video|name=Animation_GeoPackage_Write_to_SWMM_inp_01a.mp4|width= |
{{Video|name=Animation_GeoPackage_Write_to_SWMM_inp_01a.mp4|width=1236}} |
||
<br> |
|||
Using the 'Edit Feature In-Place' tool: |
|||
<br><br> |
|||
{{Video|name=Animation_GeoPackage_Write_to_SWMM_inp_02a.mp4|width=1236}} |
|||
Revision as of 14:22, 3 May 2024
Introduction
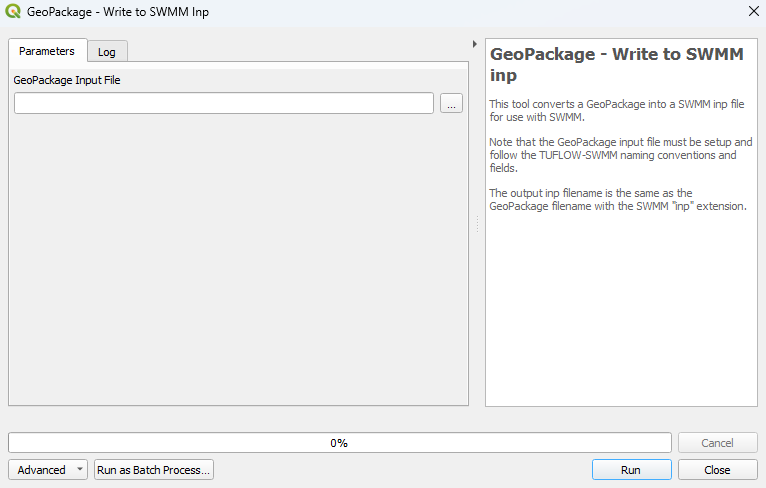
This tool converts a GeoPackage into a SWMM inp file for use with SWMM models.
It is recommended to use the GeoPackage - Create and the GeoPackage - Add Sections processing tools to ensure the GeoPackage is in the correct format for this tool. This will avoid errors while converting the GeoPackage to a SWMM inp file.
Usage
This tool, GeoPackage - Write to SWMM inp, can be found in the QGIS processing toolbox panel under TUFLOW >> SWMM. To open the Processing Toolbox panel, navigate to 'Processing' in the menubar and select 'Toolbox'.

Parameters
- GPKG Input File: The GeoPackage that will be used to create the SWMM inp file.
By default, this tool will save the SWMM inp file in the same folder location and with the same name as the GeoPackage input file.

Example
Using the 'Edit Feature In-Place' tool:
| Up |
|---|